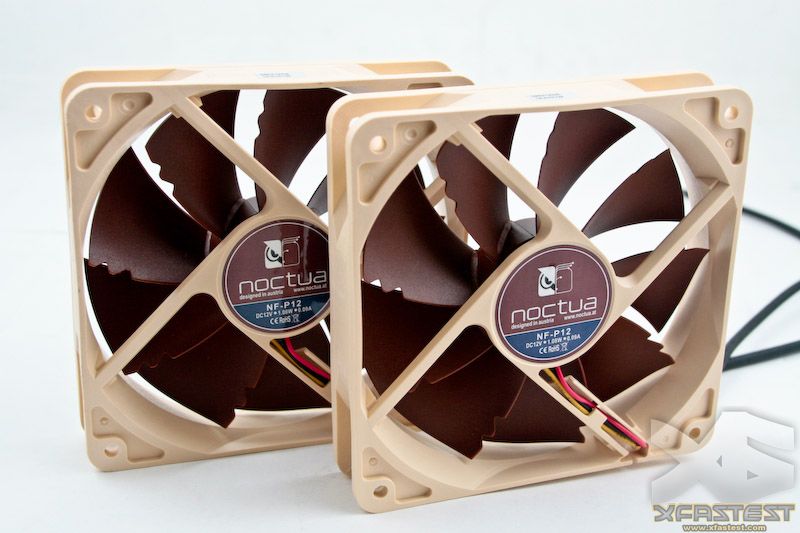
前面提到要價600塊錢的風扇可是大有來頭的,NF-P12採用的是SSO磁穩軸承技術,相較於一般普通軸承風扇,SSO軸承加上了額外的磁鐵除了能加強扇葉的穩定性之外,最大的好處是能減少軸承磨損並增強風扇的壽命,以及前面所提到,Noctua一貫的訴求 – 寂靜低噪音的表現!
So, How about the fans? Why it cost higher? Cause NF-P12 using SSO-Bearing technology can guarantees supremely quiet operation and exceptional long-term stability.
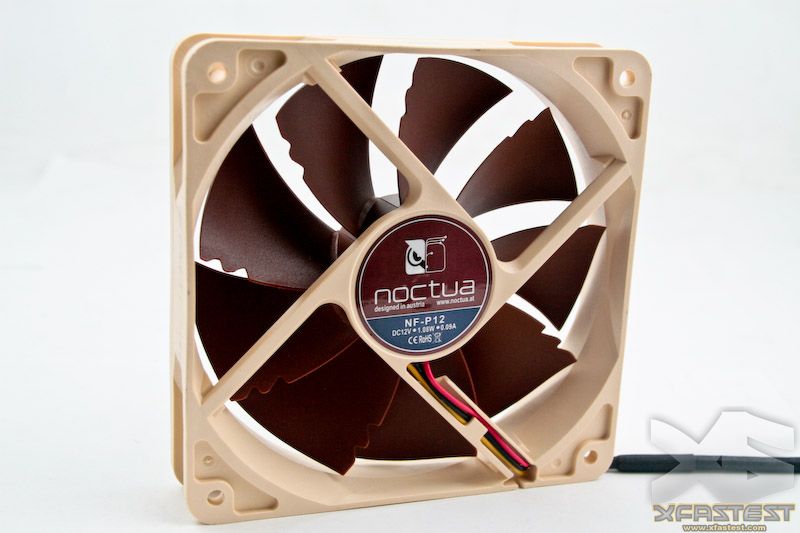
NF-P12在扇葉尾端設計了兩個缺口讓扇葉看起來就像是鐮刀一樣,這樣的設計可以讓流動的氣壓循環傳導到散熱器上進而減少扇葉的噪音!!
This Nice Blade design has a special technology inside; we called it “Vortex-Control Notches” effect of psychoacoustic optimization is further enhanced by the staggering of the notches.
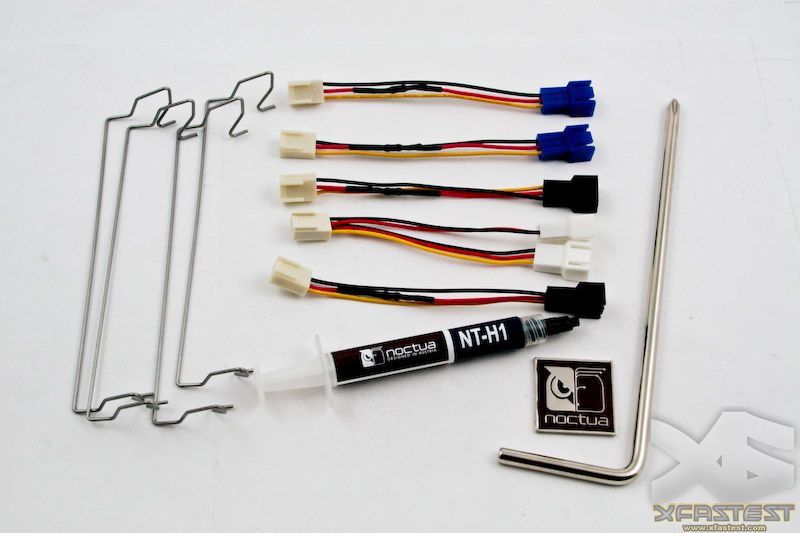
內附的配件相當的豐富,一般比較少見的便捷型螺絲起子也赫然在列,NT-H1散熱膏、風扇扣具一應俱全,還有個很可愛的貓頭鷹銘版。比較特別是Noctua為不同使用者的需求配置了不同規格的降速線,黑色線材可將NF-P12標準的1300rpm轉速下降到1100rpm,而藍色線材可將風扇轉速降低到900rpm,端看使用者的需求做配置。
Kindly addition easy screw driver for you, and for the special request of silent , the black wire can lower the standard NF-P12 fan speed from 1300rpm to 1100rpm, and blue wire can give you exclusive 900rpm ultra-low noise fan speed.
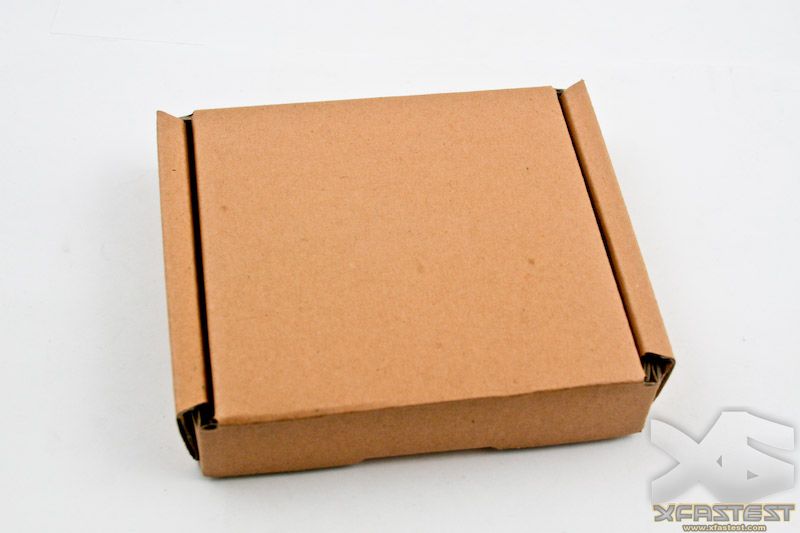
說真的,當筆者看到這個盒子在將她打開後真讓我有種前所未有的感動,忍不住在將盒子蓋回去拍攝下來跟大家分享這種感覺 !!
Just for highly praise of Noctua ‘s quality ,please allow me to show you again !
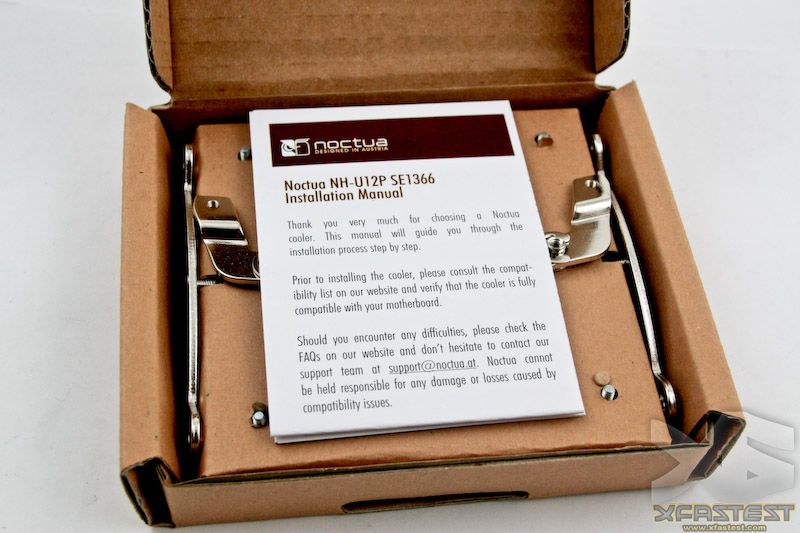
打開盒子後,Noctua NH-U12P SE1366的安裝說明書在盒內整齊疊好放在置中的位置。
A manual was place in the center of the box.
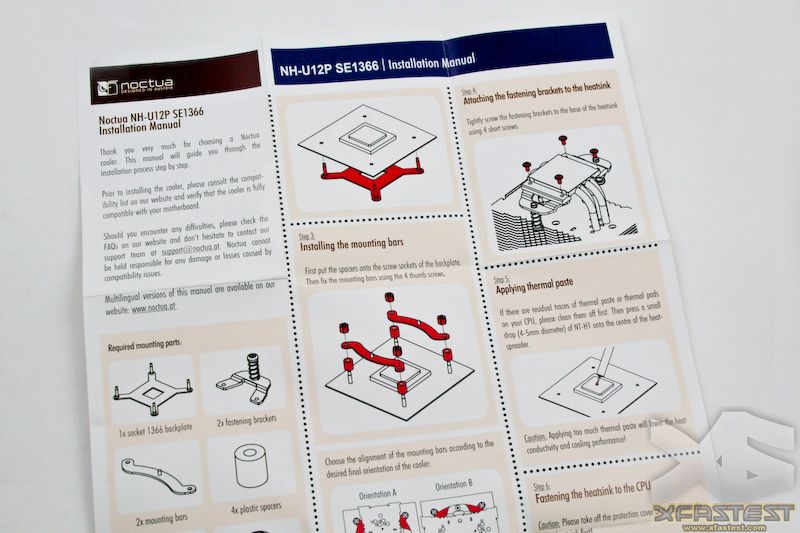
說明書一步一步的非常詳細說明散熱器各項安裝的步驟,雖然安裝的步驟不算簡單明瞭,懶得看文字說明的朋友也能透過圖解完成安裝。
They note in very detail about installation, following the step by step, you can easily install NH-U12P on your i7.
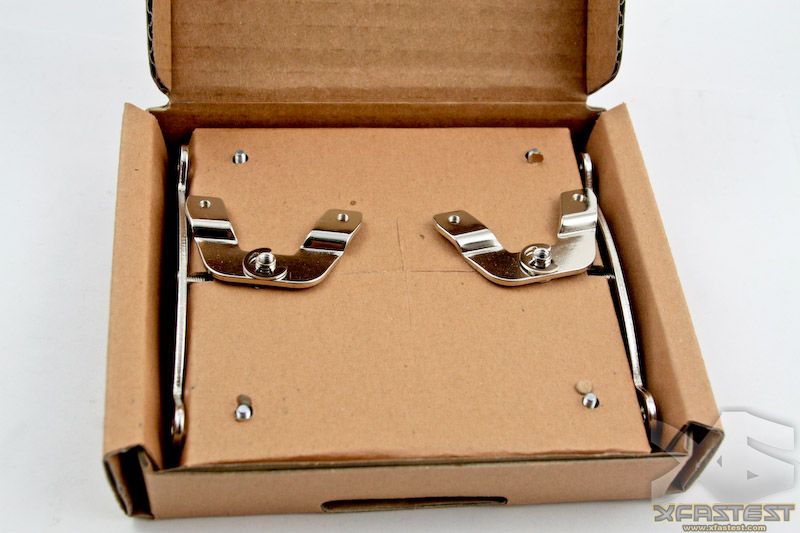
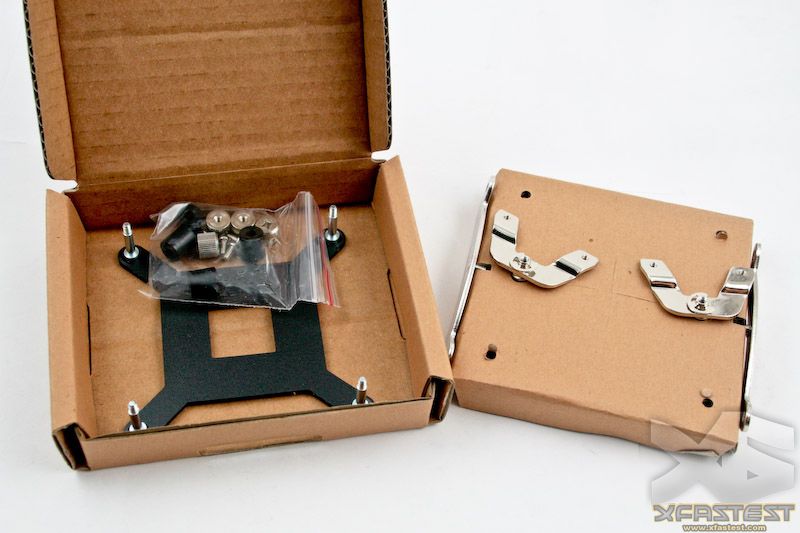
Noctua對產品的執著是我前所未見的,一般人不會特別去注意的扣具都花心思將它好好的固定在各自的位置上,避免相互碰撞到而造成損壞。
Even the small part also placing in each place, not put all in one bag like the others.
將扣具配件盒上曾拿起來,機板的強化背板及螺絲配件就置放在下方,包裝的也相當妥善。
Even the small part also placing in each place, not put all in one bag like the others.
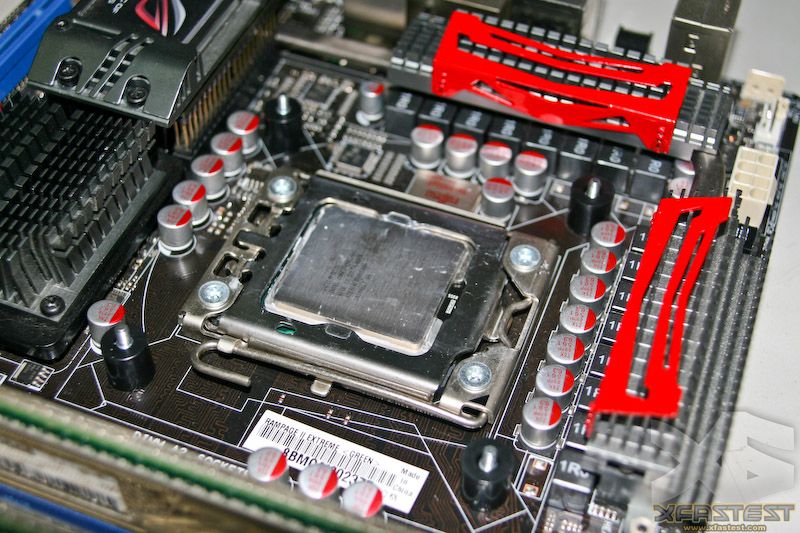
現在機板上用的是CoolerMaster V8 散熱器,也是這次拿來跟Noctua NH-U12P SE1366一較高下的PK對手,測完數據後就將他卸下主機板,來一步一步換裝上新的貓頭鷹風扇吧!!
Even the small part also placing in each place, not put all in one bag like the others.
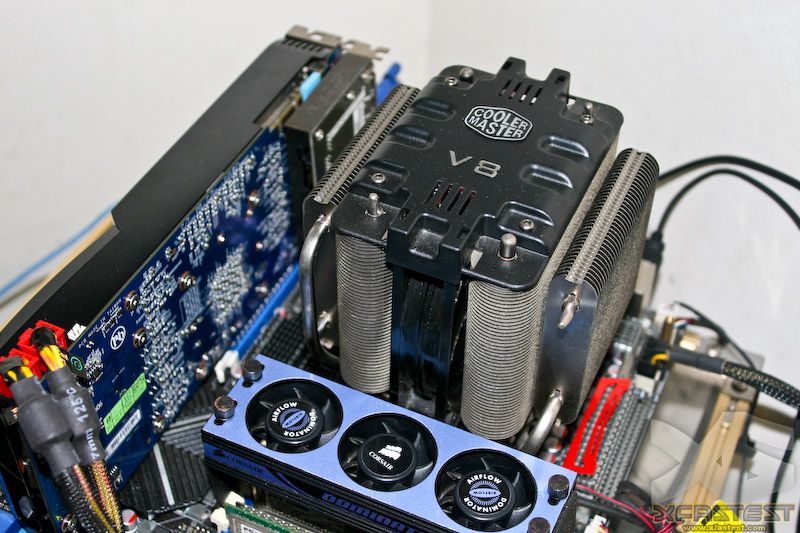
CoolerMaster外觀看起來頗像一具引擎,內建四組鰭片搭配8支6mm熱導管,12cm低轉速風扇置放於散熱器中央,運作時還會透出微微的紅光,外觀相當的霸氣。
Even the small part also placing in each place, not put all in one bag like the others.
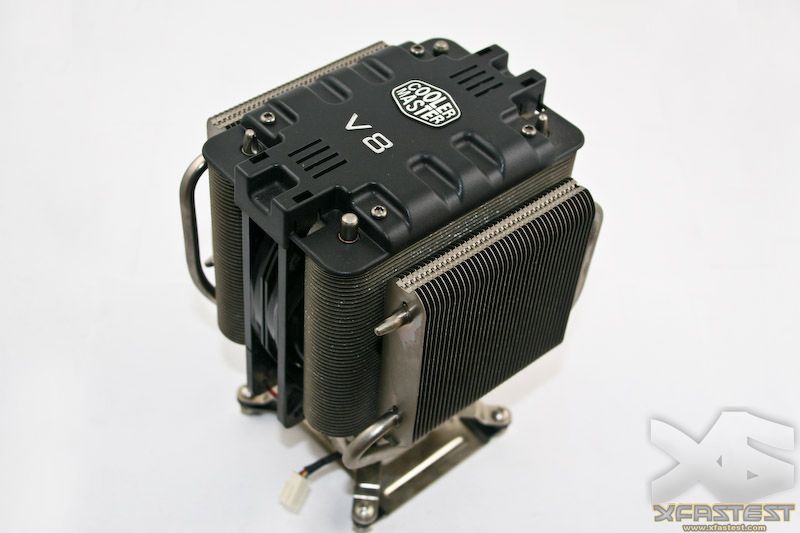
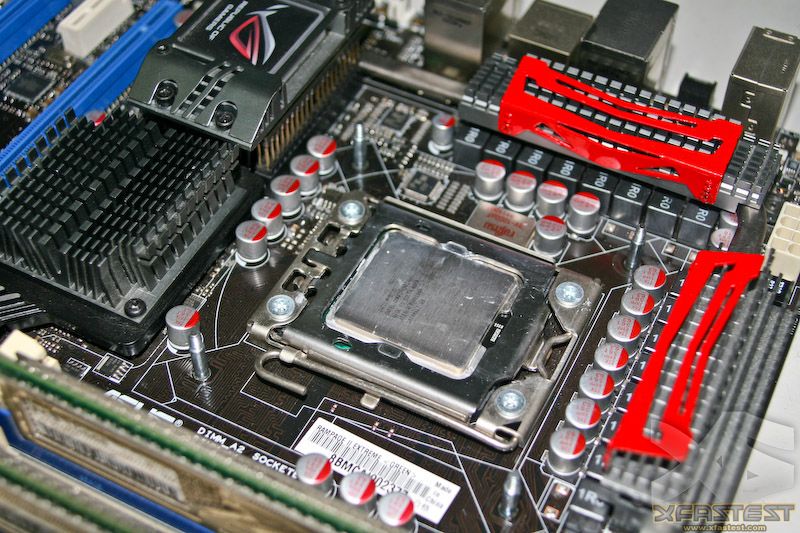
首先將CoolerMaster V8卸下,並將散熱膏擦拭乾淨。
Even the small part also placing in each place, not put all in one bag like the others.
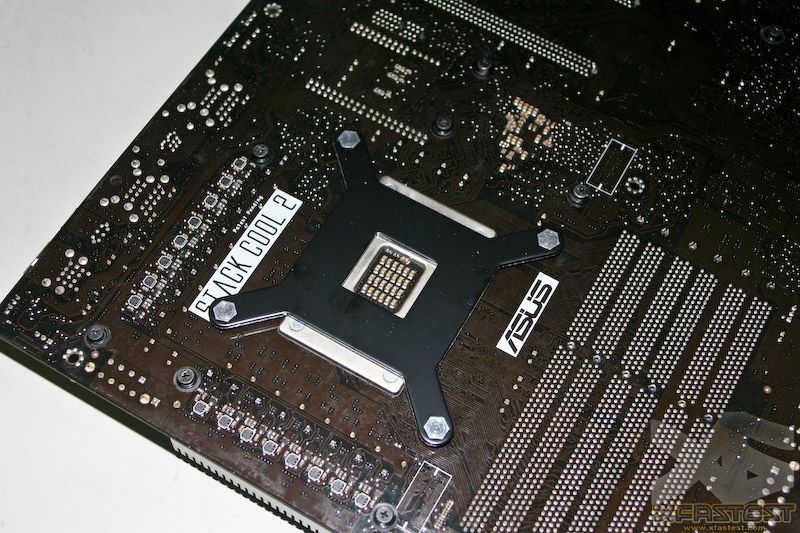
接著將NH-U12P SE1366包裝內附的強化底板放上,可以看見雖然華碩在機板底部增加了散熱片,在看到這個部份我也稍擔心一下會不會影響安裝,但一步一步安裝完並沒有碰到無法安裝或其他問題。
Than place the back plate of NH-U12P SE1366, you can saw the ASUS main board already has Stock Cool2 back plate, but NH-U12P SE1366 back plate just passed.
翻過來機板正面可以看到底板的螺絲腳柱仍留有相當充裕的高度可以固定散熱扣具。
Back to the front, check the screw sockets just fit.
接著在各腳柱上放上塑膠套筒,塑膠套筒可以避免使用者將接下來要安裝的扣具鎖的過緊而造成變形。
Back to the front, check the screw sockets just fit.